Showing posts with label how to. Show all posts

Tuesday, February 4, 2014

How to do simple basing, Part 2 of 2

So, last post, I explained how to base with sand. This post, I show you how to paint it. So, continuing from before...

Step 5: Spray! Well, that's how I get my painting done. Fortunately, I'm in the middle of a big project for my Blood Angels, so I've lotsa models to choose from...


This here is how a Tactical Marine looks after spraying with Mephiston Red. Then I gave him a quick coat of Blood Red on the armour plates.

Step 6: Coat the base in Mournfang Brown. Don't forget to thin your paints!


Step 7: Drybrush with Screaming Skull. I recommend using a nice, cheap flatheaded brush, like the ones you can still find at Daiso. Don't forget to clean up the edges after you're done.


Step 8: Static grass! Dab a little PVA glue where necessary, then apply static grass or flock with a pair of tweezers. As with the sand, tilt the model and tap away the excess and your base is more or less done!


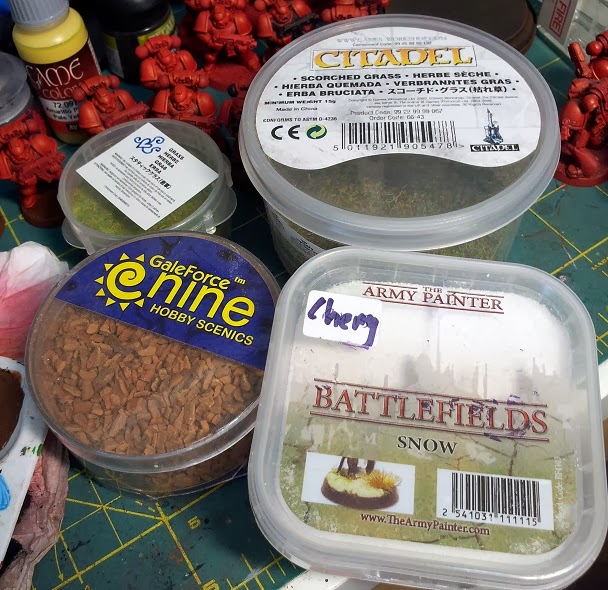
Suffice it to say, there's no shortage of stuff out there for you to glue onto bases to give them a little more character. I for one like to paint up and glue the severed heads of vanquished armies on the bases of Warlords and MVPs.

Monday, February 3, 2014

How to do simple basing, Part 1 of 2

I've been asked this a couple of times before, so here's the way I do it. Do bear in mind, every model I assemble and paint is for the purpose of gaming. I'll never put in the effort to paint a model unless I'm going to put it on a gaming table and pop a can of whupass with it. As such, I will probably never reach the lofty standards of those magnificent pro painters at Cool Mini Or Not. Anyway, enough talk. Here's how I base my minis.

Step 1: Minis on their bases. Here we have plug n' play marines sat in their bases. I suppose if they weren't rank and file, I'd give them a little more love and file down the tab until it's level with the base, but naaaah...


Step 2: Glue! I use this stuff.


Yeah, as you can see I've been using this bottle a LONG time. 3 years, I think.  Use an old brush and apply a layer of the stuff, like so:


If, like me, you live with pets, you might want to keep an eye out for unwanted fur. Make sure the whole base is covered. Work quickly with larger bases.

Step 3: Drown the bugger in sand. Your favoured texture may vary, but just make sure you have a nice big tray to completely submerge the model in.


Don't be shy with the sand...


Step 4: Turn the model on its side in the tray and tap away the excess, rotating as you go. Unfortunately, I needed both hands for that so no picture. Here's the end result:


At this point, feel free to use your fingers to wipe away any sand hanging over the edge.


And that's how I sand my bases. It's worth pointing out that it helps to plan ahead and think about where you can reach with your brush before gluing the mini on its base, especially with more complex minis like the IG Heavy Weapon Teams.

Thus concludes part one. Stay tuned, in the next part, I cover how to paint these bases.